
July 26, 2024 • Tips, Business
March 30, 2024 • by Suma
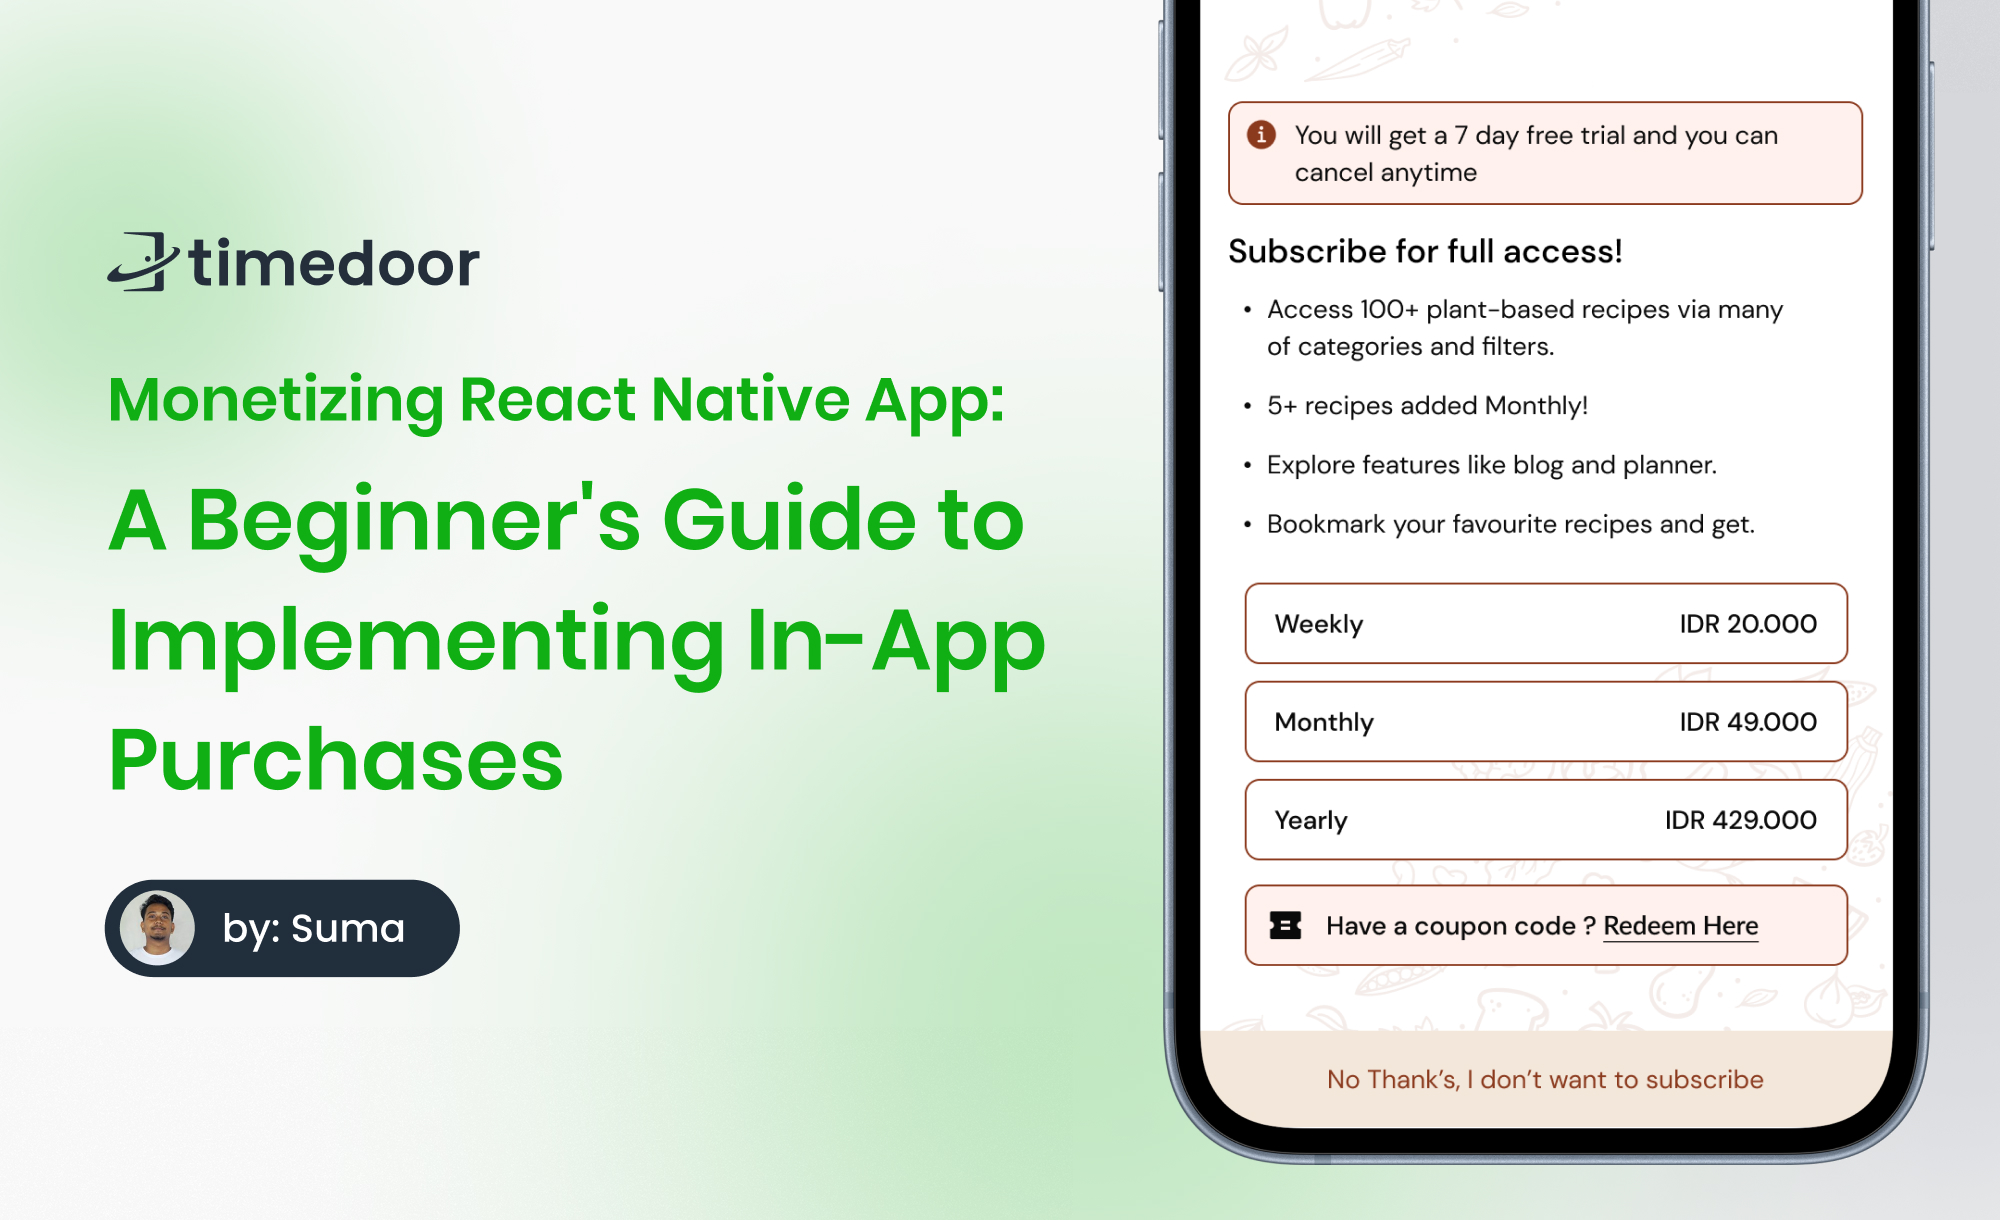
Table of Contents
In-app purchase have become an integral part of monetization strategy, enabling the creators to generate revenue from their mobile app and also providing users with a seamless purchasing experience. Fortunately, both widely used mobile platforms, Android and iOS, have streamlined the In-App Purchase transaction & revenue distribution process through their app stores. But there aren’t many tutorial on internet about how to implementing it, especially in React Native. You can use paid In-App Purchase management platform such as Adapty or RevenueCat to simplifies the process, but this article will guide you through implementing In-App Purchase in React Native using Google Billing & Apple StoreKit APIs. We’ll also test it with sandbox account.
In-app purchase is a feature provided by a platform to buy digital items or services directly from the mobile app. With In-app purchase feature, the creators are able to distribute their app for free with basics feature, but then offering the users an option to upgrade it to full feature. In-app purchase feature brings numerous benefits to both the creator and the user not only generating sustainable revenue for the creators, iap also encourage creators to provide a better user experience, update the content frequently to keep the users’s engagement.
There are three types of in-app purchase based on their usage
Consumable is a type of In-App Purchases that allows users to buy and use digital items multiple times. These item is typically designed for one-time use but can be bought repeatedly. Consumable items can be virtual currencies like gold or diamond in games, extra health or points in a game, .etc.
Non-Consumable is the opposite of the consumable type, where users only need to purchased the digital items once and can use them indefinitely. Once users have purchased it, the item will linger to user’s account across different devices and app installations. The example of non-consumable in-app purchase includes ads Removal, pro version of an app, levels in game, .etc.
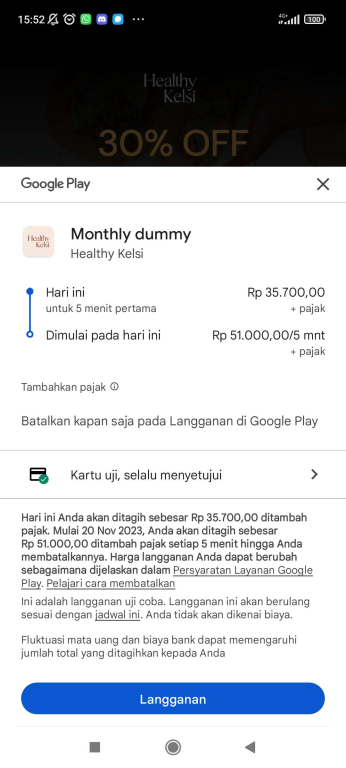
Auto-Renewable Subscription is a type that enabled the users to purchase a service or content for a set of period. This type of item will renew automatically at the end of certain period unless cancelled by the user. For example, Access premium feature for a full week, month, or a year.
Each In-app purchase type has a different requirement & implementation. In the next part this we will only focusing on the subscription-based type in React Native.
Before diving into implementation, it’s imperative to adhere to certain prerequisites. Initially, signing up to developer account for both Android and iOS platforms is essential if we are targeting these platforms. This enables us to create the items or products that we intend to offer within our application.
On Android, it’s essential to create a payment profile. To do this, navigate to the Payment Settings within the Play Console, then click “Create Payments Profile” and ensure all information provided is accurate. Once the payment profile is created, you can link your bank account to receive revenue shares from Google’s In-App Purchases. With this in place, you can proceed to create your In-App Purchase items. Simply access your app in the Play Console, navigate to the Monetize section in the left panel, and select your desired In-App Purchase type. Follow the instructions provided on the page, and you’ll be able to create your first In-App Purchase item effortlessly.
On iOS is quite similar to the process on Android. You’ll need to configure your bank account to receive revenue generated from your app. Begin by accessing your App Store Connect website. Navigate to the Agreements tab, locate the row for paid apps, and select “Set Up Tax and Banking.” On this page, input your bank account details, ensuring all required fields are filled accurately, and check the “I have read” checkbox. Finally, save your changes. Once the bank account is set up, you can proceed to create the In-App Purchase (IAP) items. To do this, navigate to your app within the My Apps menu. In the left panel, select your desired in-app purchase type, whether it’s consumable, non-consumable, or subscription-based.
To set up in-app purchases in React Native, we utilize the Google Billing APIs and/or the Apple StoreKit APIs. Instead of creating separate native modules for each platform, we can streamline the process with the react-native-iap library. It offers a unified interface for managing purchases across both the Google Play Store and the Apple App Store. Under the hood, React Native IAP leverages native APIs from Google and Apple to handle purchase flows, verify transactions, and manage subscriptions. By using React Native IAP, developers gain access to a consistent set of methods and events, regardless of the platform, facilitating easier implementation and maintenance of in-app purchases in cross-platform React Native apps.
To install react-native-iap library run this code
npm install react-native-iap
# or
yarn add react-native-iap
Setup for iOS, if you’are targetting to iOS platform
cd ios
pod install
cd ..
react-native-iap library provide us a hooks to simplifies the fetching item, making purchase, and handle purchasing process so let’s use that.
import {
    withIAPContext,
    useIAP
} from 'react-native-iap'

const SubscriptionScreen = () => {
	const {
		connected,
		subscriptions,
		products,
		getSubscriptions,
		getProducts,
		currentPurchase,
		currentPurchaseError,
	} = useIAP();

	return <>
		{/*
			your component
		*/}
	</>
}
export default withIAPContext(SubscriptionScreen)
Let’s retrieve the earlier created IAP item. First we need to declare the Product ID’s :
const items = Platform.select({
    ios: ["com_example_product1ios", "com_example_product2ios", "com_example_product3ios"],
    android: ["com_example_product1", "com_example_product2", "com_example_product3"],
});
if the product is subscription use getSubscriptions method :
if the product is not a subscription, you can use getProducts method:
useEffect(() => {
    if (connected) {
        handleGetSubscription()
    }
}, [connected]);

const handleGetSubscription = async () => {
    try {
        //show loading animation
        await getSubscriptions({ skus: items! });
        //hide loading animation
    } catch (e) {
        //handle error fetching
    }
}
If the fetching method is success, the subscriptions or products variable will be populated asynchronously, so you can display the your offered products on the screen :
<FlatList
    data={subscriptions}
    style={{
        flex: 1,
        marginTop: 8
    }}
    scrollEnabled={false}
    keyExtractor={(item, index) => `index ${index}`}
    renderItem = {({item,index}) => {
        {/*
                showing product name and it's price
        */}
        <Text>{Platform.OS == 'ios' ? item.title : item.name}
        <Text>{Platform.OS == 'ios' ? item.localizedPrice : item.subscriptionOfferDetails[0].pricingPhases.pricingPhaseList[item.subscriptionOfferDetails[0].pricingPhases.pricingPhaseList.length - 1].formattedPrice}</Text>
    }}
/>
To make purchase we can use requestSubscription or requestPurchase depending on your product type.
//if subscription use this
const handlePurchase = async(item) => {
    if (Platform.OS == "ios") {
        await requestSubscription({ sku: item.productId });
    } else {
        await requestSubscription({ subscriptionOffers: [{ sku: item.productId, offerToken: item.subscriptionOfferDetails[0].offerToken }] });
    }
}

//if consumable or non-consumable product use this
const handlePurchase = async(item) => {
    await requestPurchase({sku: item.productId})
}
After making a purchase, we can observe the purchase events. The variables currentPurchase and currentPurchaseError will be updated based on the result of the purchase event.
useEffect(() => {
    const checkCurrentPurchase = async (purchase) => {
        if(purchase){
            //handle the purchase event
            //...
            //at the end, finish the current transaction
            try {
                const ackResult = await finishTransaction(purchase);
                console.log('ackResult', ackResult);
            } catch (ackErr) {
                console.warn('ackErr', ackErr);
            }
        }
    }
    checkCurrentPurchase(currentPurchase);
}, [currentPurchaseError]);

useEffect(() => {
    if (currentPurchaseError) {
        //handle error event
    }
}, [currentPurchaseError]);
Finally, the In-App Purchase integration is complete, and it’s now ready for testing.
Before publishing the app to public, it’s very important to thoroughly test it’s functionality in a controlled environment. Both Apple & Google offer sandbox environment for developers to test the in-app purchase feature without actually making real payments.
Conducting testing for an iOS app can be done by uploading the app into testflight and subsequently create sandbox account in your appstoreconnect console to facilitate simulated purchases. While this process may seems simple, but it’s actually not that simple. The testflight app may not accurately detect or incorporate the previously created sandbox account. Instead, it might utilize your actual Apple ID, leading to complications. This issue prevents access to sandbox account settings, crucial for tasks such as canceling or resetting the eligibility of your app’s subscription—an essential feature for expediting the testing process.
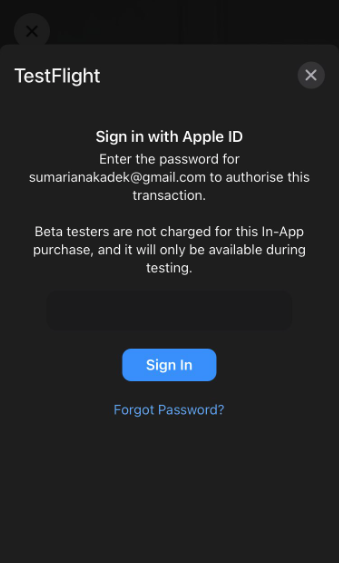
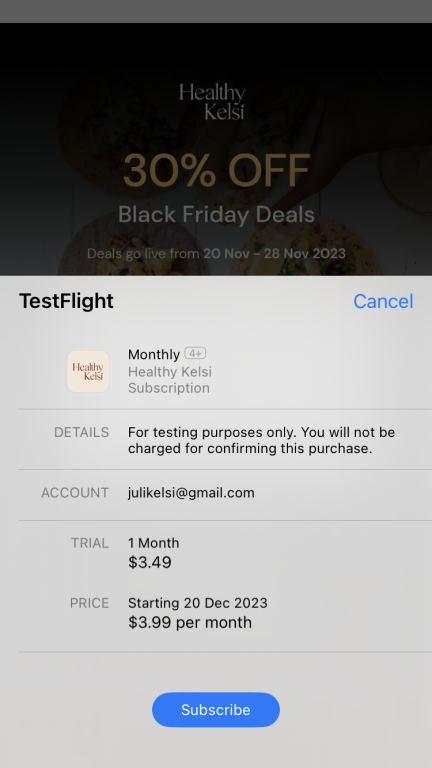
Following an extensive investigation on various forums and sources, I’ve discovered a workaround to resolve the issue. To implement this solution, start by signing out of your Apple ID from the App Store App. Next, open your app and activate the purchase paywall. A login form dialog will then appear on the screen; input your previously created sandbox account. The purchase paywall will promptly detect your sandbox account and finalize the purchase process. A success dialog will appear, allowing you to subsequently access the sandbox account settings to manage your app’s subscription.

To access sandbox account setting, open the Settings app, navigate to App Store section, scroll to the very bottom, and locate the sandbox account section. Tap on Apple ID or “Sign In” button, and then select “Manage”.
Contrary to iOS app testing, Android testing is notably straightforward and simple to set up. The process involves registering the tester’s email into the license tester list in the Play Console. To achieve this, open the Play Console dashboard, navigate to the Setup menu on the left side panel, and select the License Testing submenu. If you haven’t created a license tester list yet, you’ll need to do so. Additionally, you have the option to specify subscription response scenarios, indicating whether it’s a success, failure, or error. Once the email is registered in the license tester, you can seamlessly test the subscription without any complications.
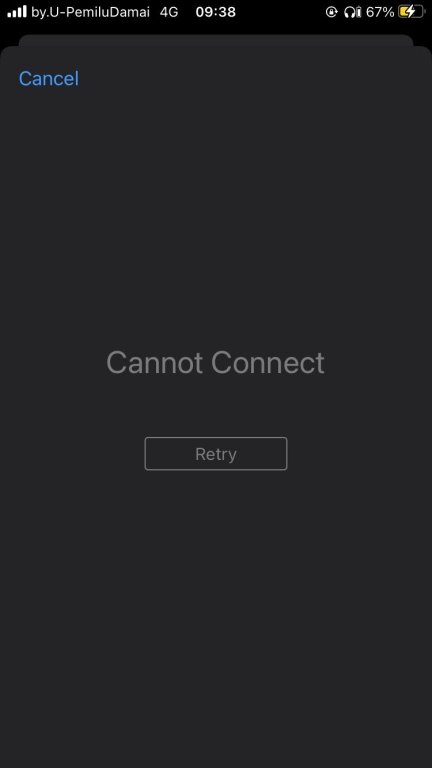
When developing & testing In-App Purchase, some issues may arise. Consequently, it is essential to consider certain key factors.
In-App Purchase has been proved as the most effective monetization method for creators to generate revenue while delivering significant value to users. Although implementing In-App Purchase in React Native may initially appear challenging and require numerous trial and error attempts, following best practices enables creators to seamlessly integrate it and provide an optimal user experience.
Thank you for taking the time to read! if you have any further inquiries or wish to delve deeper into this topic, feel free to reach out to us via our website or through our various social media channels.
Wishing you a fantastic journey in your programming endeavors!
some other blog posts you might be interested in

